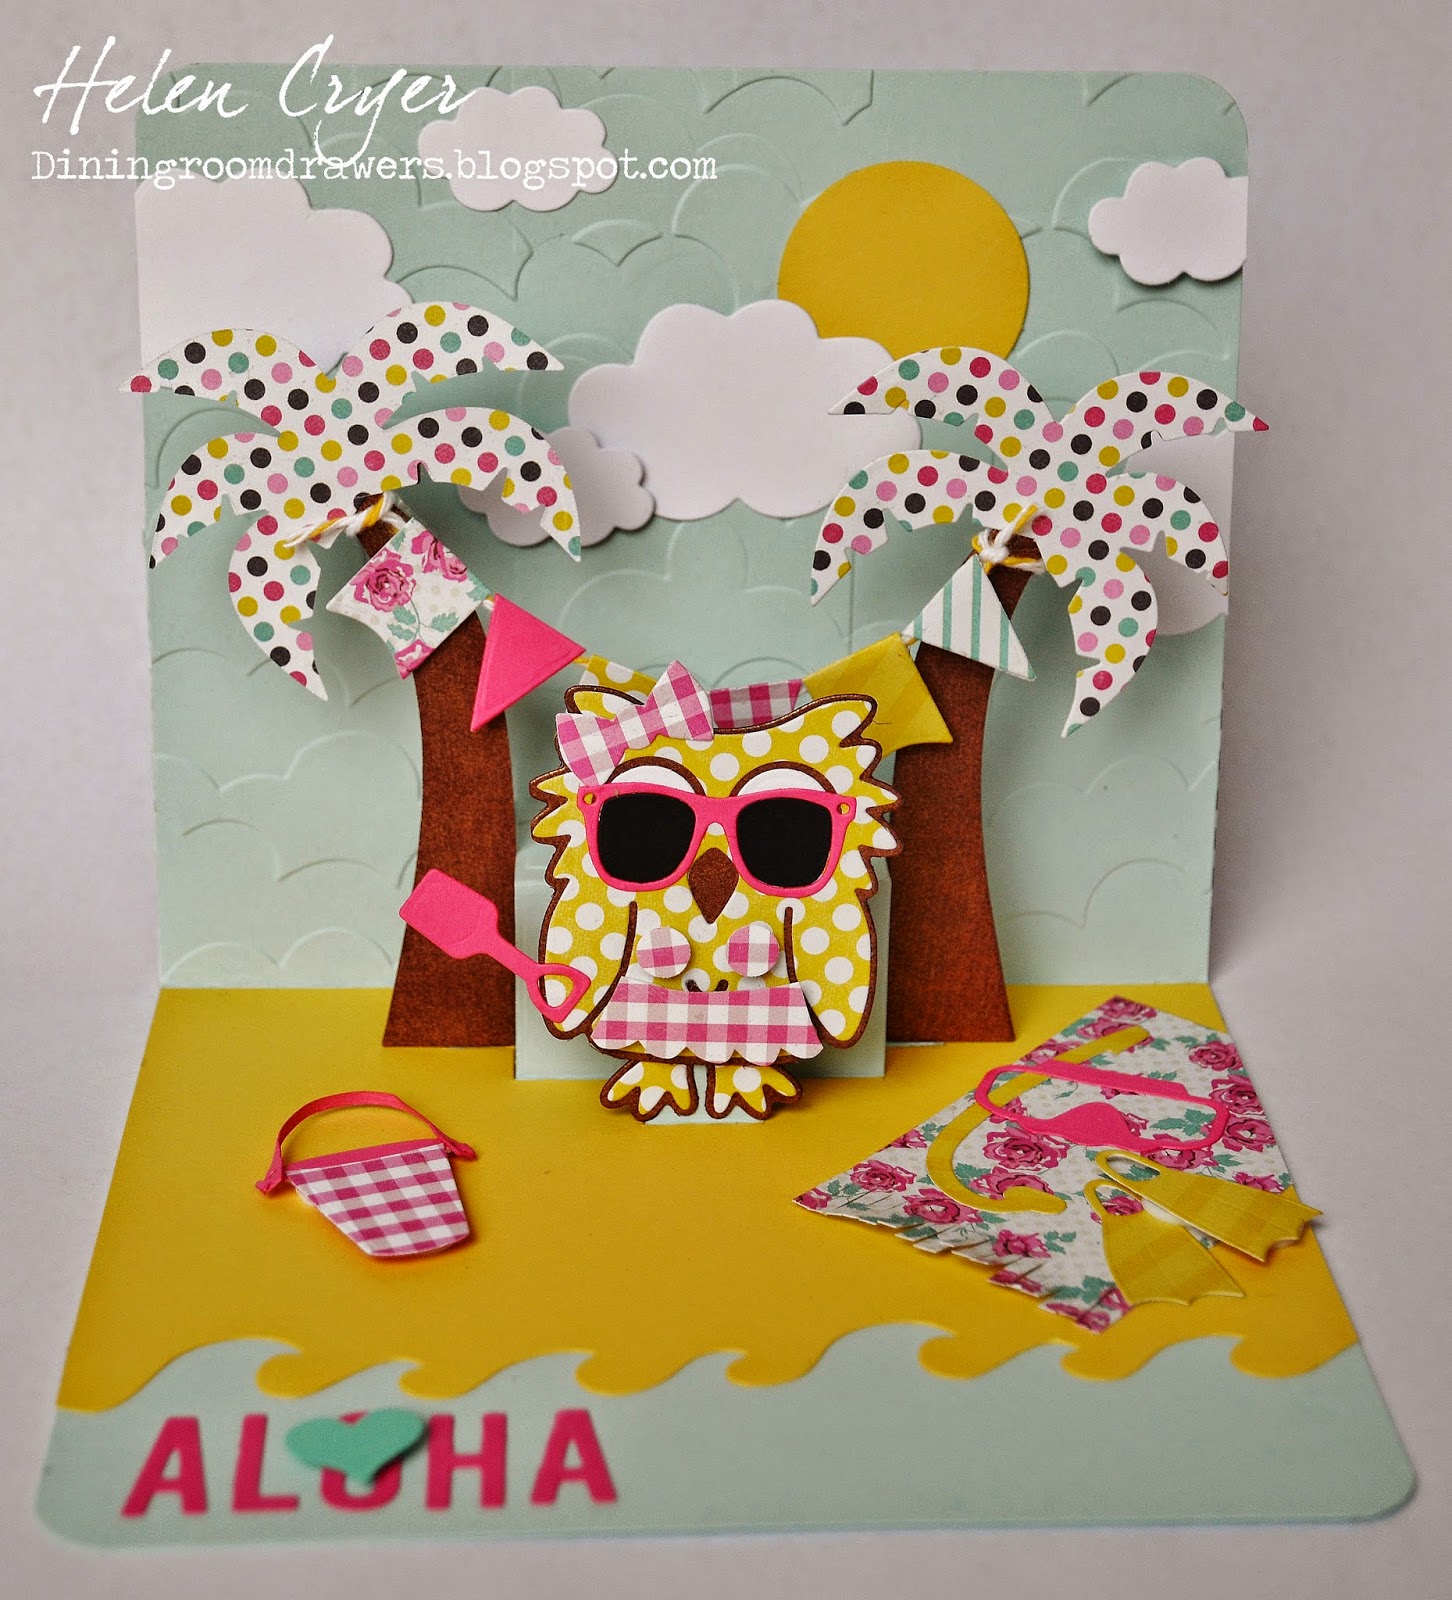
Elizabeth Craft Designs Pop Up Beach Card Tutorial
Hi everyone! I had this tutorial featured on the Elizabeth Craft Design Blog a little while ago... I would have posted it sooner, but I've just got back to England after being in America for a couple of weeks, where our car was broken into, and my laptop stolen! (Amongst many other things!) I did buy a new laptop in America, but couldn't remember my blog password!
So anyway...
So anyway...
After a long, grey British winter, I'm looking forwards to some warmth and sunshine! Karen’s latest dies really called to me, and I came up with this bright beach scene. I made a fun ‘Aloha’ card, but it could easily be used as a Happy Vacation, Bon Voyage, or summer birthday card.
INSTRUCTIONS:
1. Cut pale turquoise cardstock to 11”x 6”. Fold cardstock in half, and die cut with the Lots of Pops die. Emboss the top half of the card with the Clouds embossing folder. (You will need to emboss it twice to cover the width. There will be an ‘edge line’ showing, but this will mainly be covered up later.)
2. Cut yellow cardstock to 6”x 5.5”. Cut half of the Lots of Pops die into one of the 6” sides. Use the wave border from the Beach Edges die set to cut approx. 1” from the other 6” side.
Adhere the yellow cardstock to the bottom half of the turquoise card base.
3. Cut all the pieces as pictured below: Clouds (from the All Seasons Tree set), sun (using a small circle punch), trees, bucket and spade (from the Palm Tree & Pail set), banners (from the Lots of Pops set), ‘ALOHA’ (from the Alphabet 1- Caps set), diving gear (from Props 3 set), heart (using a small heart punch) and a hand cut towel (measuring 2”x 3”).
4. Cut all the pieces as pictured below: Owl parts (from Poppy the Owl set), sunglasses and bow (from Props 1 set), bikini top (using a tiny circle punch) and a hand cut bikini skirt.
5. Adhere clouds and sun. Assemble trees and adhere to the Lots of Pops side tabs. Tie some twine to both the trees, and glue the banners over the twine, as pictured below.
6. Adhere the owl parts together as pictured below.
7. Adhere the beach equipment, and ‘ALOHA’ as pictured below. (Trim the edge off the towel.)
8. For the outside of the card, fold a 6”x 6” piece of patterned paper in half, and die cut through the top edge of both sides with the small palm tree border (from the Beach Edges set). Cut two bright pink cardstock strips of 6” x .5”, and adhere everything to the outside of the card as pictured below.
Quite a few steps, but great fun if you enjoy playing with paper!!
I hope you feel inspired to create your own beach scene!
Helen
SUPPLIES:


Comments
Post a Comment